A creator’s playbook for using AI image at playvideo.ai inside video workflows
Practical playbook for using AI image at playvideo.ai inside video workflows: prompts, asset prep, style control, rights checks, and platform tool requirements.
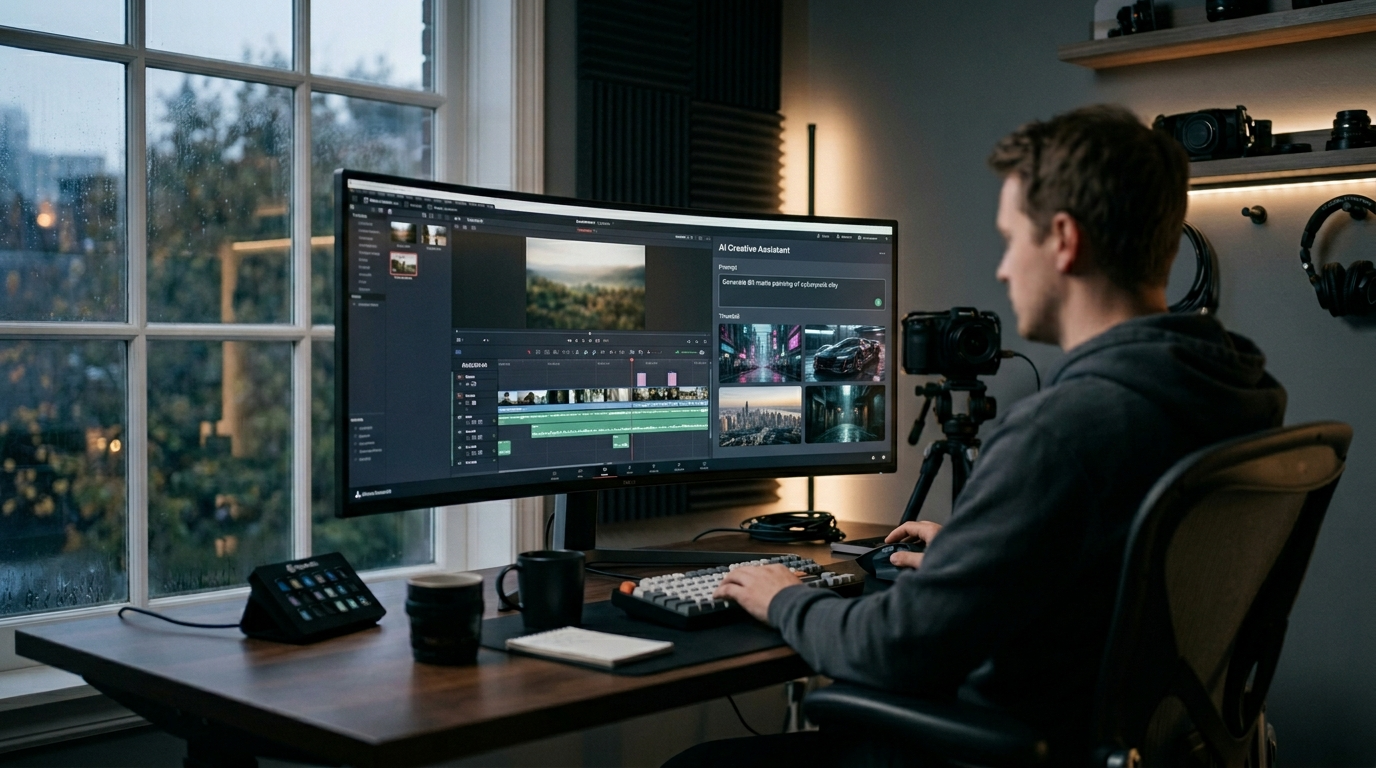
AI image at playvideo.ai is the seed phrase for this playbook: it represents how creators can use embedded image generation inside modern video editors to prototype, iterate, and ship visual assets without leaving the timeline. If you make social clips, thumbnails, explainer videos, or longer narrative pieces, understanding how to evaluate in-editor AI image tools and fold them into standard production pipelines will save time and reduce friction. This guide gives step-by-step workflows, realistic quality trade-offs, legal checkpoints, and concrete feature expectations so you can adopt AI images with confidence.
How to evaluate whether an AI-image feature in a video platform is right for your project
Start with the outcome, not the hype. Ask: does the platform’s AI image tool produce assets at the output sizes and fidelity my deliverable requires? For short-form social, a quick 9:16 image that reads at mobile scale may be enough; for a 4K documentary, you need higher base resolution and predictable up-res behavior.
Look for these practical signal metrics in the platform’s documentation and product pages: whether image generation sits inside the timeline (reducing context switching), available aspect ratios and presets, built-in remaster/upscale tools, and whether the platform lists the AI features alongside other editor capabilities. For example, PlayPlay publicly lists an “AI Image Generator” among its AI Video Suite features and shows how AI tools are embedded across the editor, which is an important product signal that image generation is designed to work as part of the editing flow (PlayPlay — AI product overview).
Also evaluate the platform’s AI when it’s combined with contextual guidance: tools that analyze frames and make suggestions (PlayPlay’s Video Tips uses Google Gemini for frame-by-frame assistance) shorten feedback loops because suggestions can be applied directly to timeline elements. If your project needs strict brand consistency or broadcast-level fidelity, prioritize platforms that document integrated remastering, background removal, and human-in-the-loop export paths. Remember that searches for a standalone playvideo.ai product page returned an inaccessible redirect; therefore, base decisions on demonstrable features from leading platforms that list image generation among video editor AI tools (PlayPlay) and on industry comparisons (Technology.org, ArtificialAnalysis).
Practical workflow: from prompt → image → edit → motion (best practices and file/asset prep)
Designing a repeatable pipeline is what separates experimentation from production work. A four-stage workflow—prompting, generation, edit/refine, and motion—keeps projects predictable.
Prompting: Treat your prompt like a design brief. Include desired aspect ratio, level of photorealism, lighting direction, subject placement and negative prompts for things to avoid. Save prompt templates in a living document so teammates can reproduce looks. When the editor supports aspect presets (9:16, 16:9), include that in the prompt to get fewer crop surprises.
Generation: Generate multiple candidates per prompt. Use the platform’s batch or variations feature to create a small grid of options, then flag the top picks. If your editor offers in-line model choices (artistic, photoreal, illustration), pick the one aligned with your final output.
Edit/refine: Pull the chosen images into the timeline and treat them like source plates. Run platform remaster tools (denoise/up-res), apply background removal if needed, and use color-match controls to harmonize AI images with live footage. When the editor embeds AI features, you can iterate faster because you’re working in one environment—PlayPlay points to this benefit where multiple AI features are combined inside the editor (PlayPlay — AI Video Suite).
Motion: Convert static images into motion using parallax, stabilized camera moves, or animated masks inside the editor. If you’ll animate large pans or zooms, generate source images at higher resolution or plan a clean background pass for parallax layers to avoid pixelization. Export test clips at delivery resolution to validate sharpness before the final render.
File/asset prep checklist: start with target aspect ratio, gather reference frames for style matching, export images at the highest native resolution provided, keep originals and remastered versions, and document any retouches applied so you can reproduce them on subsequent frames or shots.
Controlling style, consistency and brand voice when generating images for multi-shot videos
Consistency across a multi-shot sequence is the hardest part of AI-sourced imagery. Models can vary outputs even from similar prompts, so adopt deterministic controls and post-generation harmonization.
Deterministic inputs: lock down shared parameters—aspect ratio, seed value (if supported), model version, and a minimal style glossary that every prompt references. For brand projects, create a short style token set (e.g., "low-contrast warm lighting, 35mm, soft grain, desaturated teal accent") and append it to every prompt. Keep a single source of truth for brand colors (hex codes) and include those when the editor supports color prompts or LUT application.
Batching and seed reuse: batch-generate key frames for a scene (hero, mid, background passes) in one session while reusing seed values to produce predictable variations. Where the platform supports "variations," use it to preserve composition while exploring texture and lighting changes.
Post-generation harmonization: use the editor’s color-match, LUTs, and global grading tools to unify shots. If the platform integrates background removal and layer compositing, place AI images on the same grade node as live footage before adding final color adjustments. Export style references (small stills at final resolution) and lock them in the project so any later asset generation can reference them.
When editing across different output sizes, generate source assets targeted to the most constrained format first (often vertical). Platforms that auto-resize templates and assets help here by treating AI images as interchangeable assets optimized for each delivery channel (PlayPlay templates & auto-resize features). This means planning for crop-safe compositions—keep key subjects inside a central safe zone to avoid losing important elements during auto-resize.
Quality & limitations: common artifacts, resolution, and when to use human retouching
Expect artifacts and edge cases. Industry reviews from 2025 show significant improvements in image-generation quality, but persistent trade-offs remain—motion coherence, photorealism, and high-resolution fidelity still vary by model and implementation (Technology.org; ArtificialAnalysis 2025). Common issues you’ll see: soft details when images are upscaled, odd limb or hand artifacts in character work, texture repetition on fabrics, and improbable reflections.
Resolution and broadcast needs: Many creators must up-res or denoise AI images to meet broadcast or 4K delivery. Even when a platform includes remastering, manual retouching in a dedicated image editor is often required to handle fine details (skin pores, text legibility, logos). Treat integrated upscalers as quality accelerators—not replacements—when you need pixel-perfect results.
When to bring in a human: Use human retouching for faces (identity consistency), branded elements (logos, product copy), and any shot that will be heavily animated or blown up in size. A retoucher can fix small artifacts, reconstruct edges, and ensure accurate color rendering. If your project must clear legal or compliance reviews (ads, regulated industries), have a human verify that generated imagery meets brand and legal standards.
Testing and acceptance: Add a QA step that includes asset inspection at final delivery resolution and motion tests. Export a 10–15 second proof at final codec and examine frames at 100% or 200% pixel view to catch artifacts that only appear when scaled. This is faster than discovering a problem during the final render.
Rights, licensing, and model-safety checks you must run before publishing
Legal checks are non-negotiable. Verify the platform’s terms for commercial use of AI-generated images and whether the underlying model has restrictions. When researching embedded AI features across video platforms, note that documentation matters—PlayPlay and similar vendors list AI features and provide product-level descriptions, but you must still confirm licensing specifics directly with the vendor or contract (PlayPlay — AI product overview).
Model provenance: ask which model or provider the platform uses and whether it guarantees a commercial license. If the platform uses third-party models, request written licensing details for commercial distribution. Keep a record (screenshot or link) of the policy version in effect when you generated assets.
Copyright risk areas: avoid generating images that replicate existing trademarks, identifiable people, or copyrighted art unless you have releases or explicit permissions. For likenesses of public figures, check the platform’s policy and local rights-of-publicity laws. If your spot uses an avatar or face generated from a real person, secure releases or use clearly fictional representations.
Safety checks: run a content review for inappropriate symbols, hidden text artifacts, or accidentally generated brand logos. Platforms that offer content moderation or NSFW filters reduce risk, but do a manual pass before publishing. Maintain audit logs for each asset: prompt text, model/version, generation timestamp, and the account used. These items protect you if a compliance or legal question arises after release.
Tools and feature checklist: what to expect from modern video platforms that offer AI image generation
For teams evaluating platforms, expect a baseline feature set and prioritize based on output needs. Here’s a practical checklist:
- In-editor generator: image creation accessible directly inside the timeline or asset library so you can prototype visuals without switching apps. Platforms like PlayPlay advertise embedded AI features that live inside the editor (PlayPlay — AI Video Suite).
- Aspect / templates: presets for common aspect ratios (9:16, 1:1, 16:9) and auto-resize or crop-safe guidance.
- Batch/variations: ability to generate variations from a single prompt and reuse seeds.
- Remaster/upscale: denoise and up-res tools with preview at target output size.
- Background removal & layer compositing: export transparent PNGs or masked layers for motion passes.
- Color-match and LUT support: harmonize AI images with live footage using global grade nodes.
- Audit trail & licensing UI: visible model/version info, licensing language, and exportable audit logs.
- Content moderation: NSFW filters and model-safety checks built into the generation flow.
- Interoperability: export formats (PSD, PNG, EXR) and simple handoff to external retouchers when needed.
If the platform combines other AI features—voice cloning, music generation, auto-subtitles, and effects—you can centralize creative iterations. For example, use the platform’s AI image generator (see /create-image) to produce visuals, pair them with bespoke AI voices (/ai-voices), and finalize a cut with generated music (/create-music) and motion effects (/effects). When you’re ready to produce a video from images and text directly, the platform’s text-to-video generator page (/create-video) shows how image assets can join other AI outputs to create finished clips. Finally, check pricing and plan limits that affect how many generations or upscales you can run—see pricing details at /pricing.
Case studies & step-by-step recipes: short social clip, thumbnail suite, and background/environment pass
Below are three production recipes you can follow and adapt. Each recipe maps tools, prompts, and QA steps.
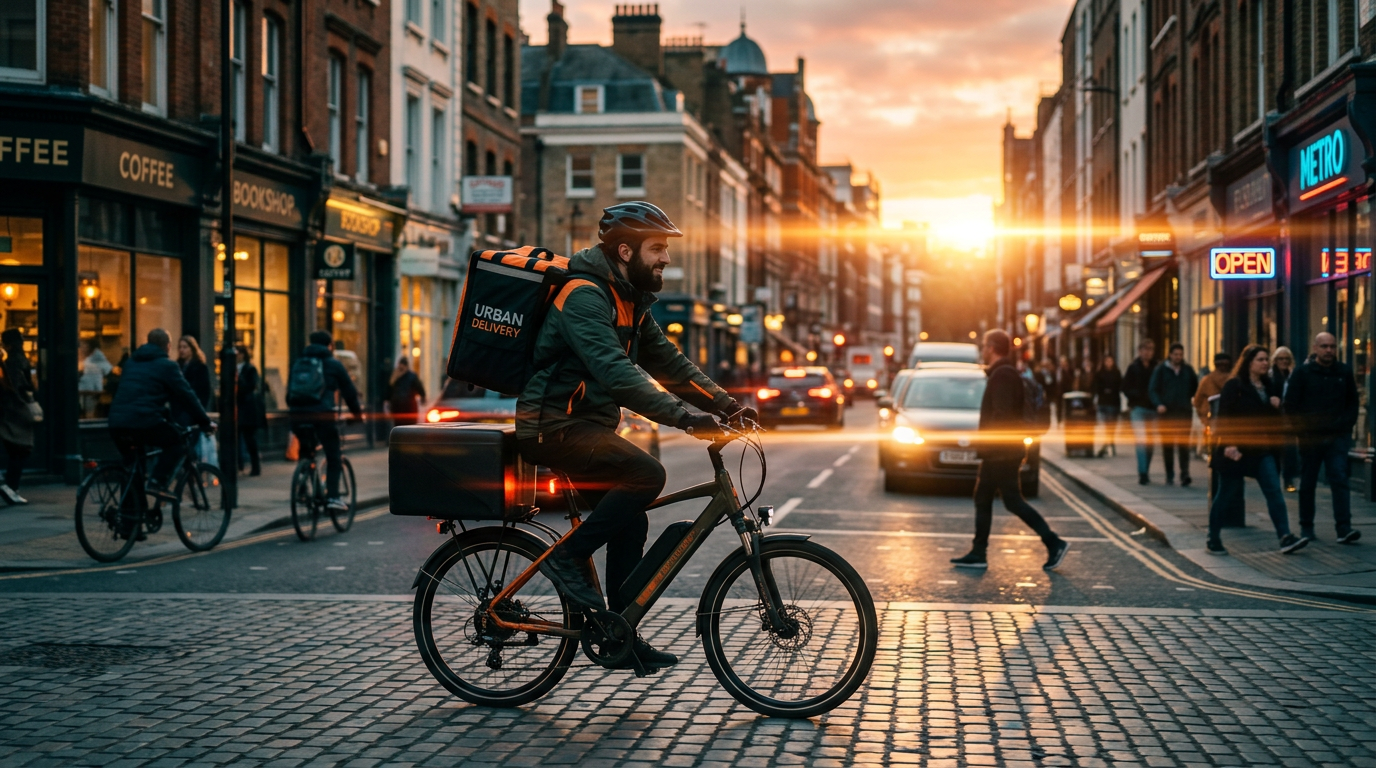
Short social clip (9:16, 15–30s)
- Tools: in-editor AI image generator, remaster/upscale, motion keyframing, auto-subtitle. Use a vertical template and mobile-safe guide.
- Prompt example: "9:16 cinematic portrait of a courier on a busy city street at golden hour, shallow depth of field, warm teal color grade, subject centered, soft grain, photorealistic". Generate 6 variations, pick 2, remaster at 2x, remove background for parallax layer, animate slight push-in and camera tilt, add AI-generated voiceover from /ai-voices and music from /create-music. Export H.264 mobile preset.
- QA: proof at 100% for noise and motion stutter; check subtitles for timing and legibility.
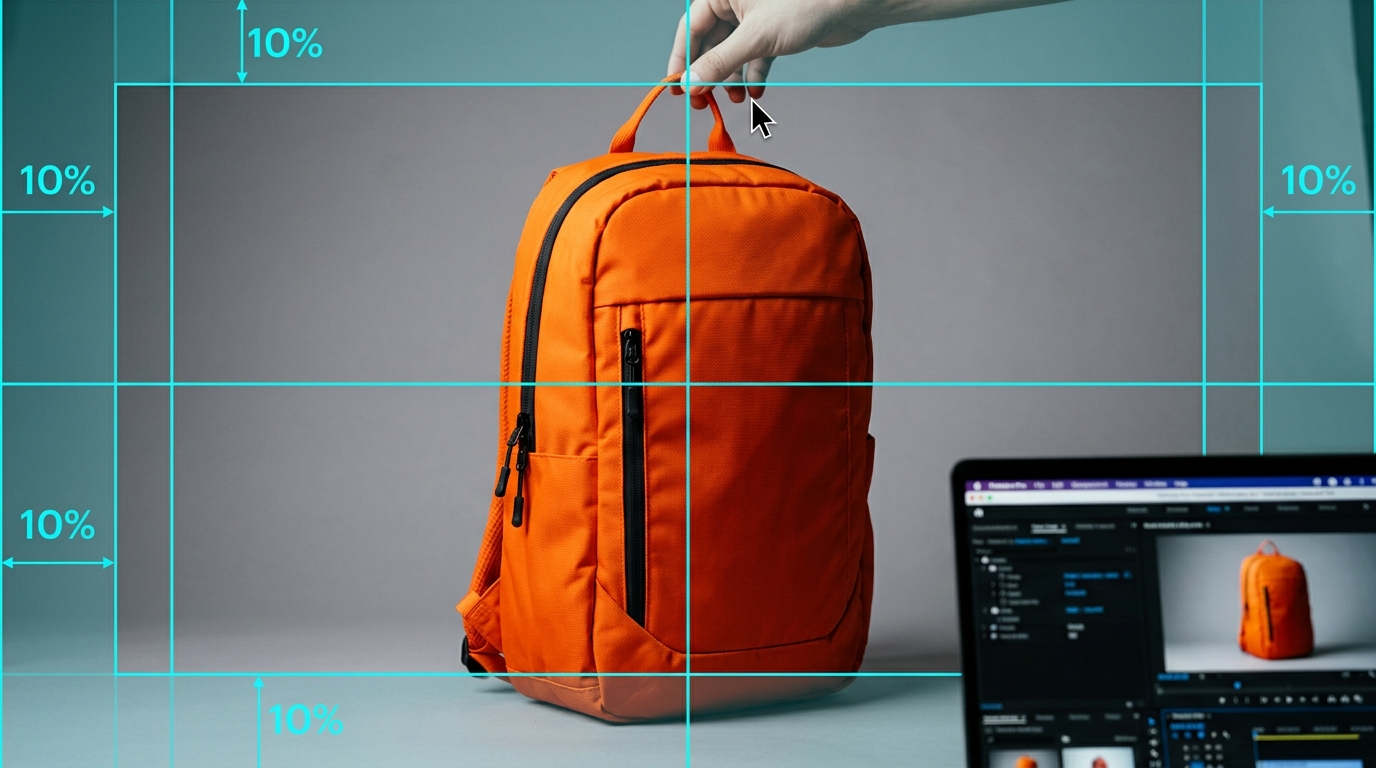
Thumbnail suite (YouTube hero + 9:16 shorts cover)
- Tools: batch image generator, aspect-presets, background removal, text layout templates.
- Recipe: generate a hero image with a centered subject and empty left-third for text. Create two derivative crops (16:9 and 9:16) with the platform’s auto-resize. Apply brand-safe contrast and add overlay text in the editor. If logos appear in outputs, replace them with approved brand assets to avoid copy issues. Use /create-image to iterate artwork quickly, then export PNGs for channel uploads.
- QA: check legibility at thumbnail size (160x90 and mobile small thumbnails).
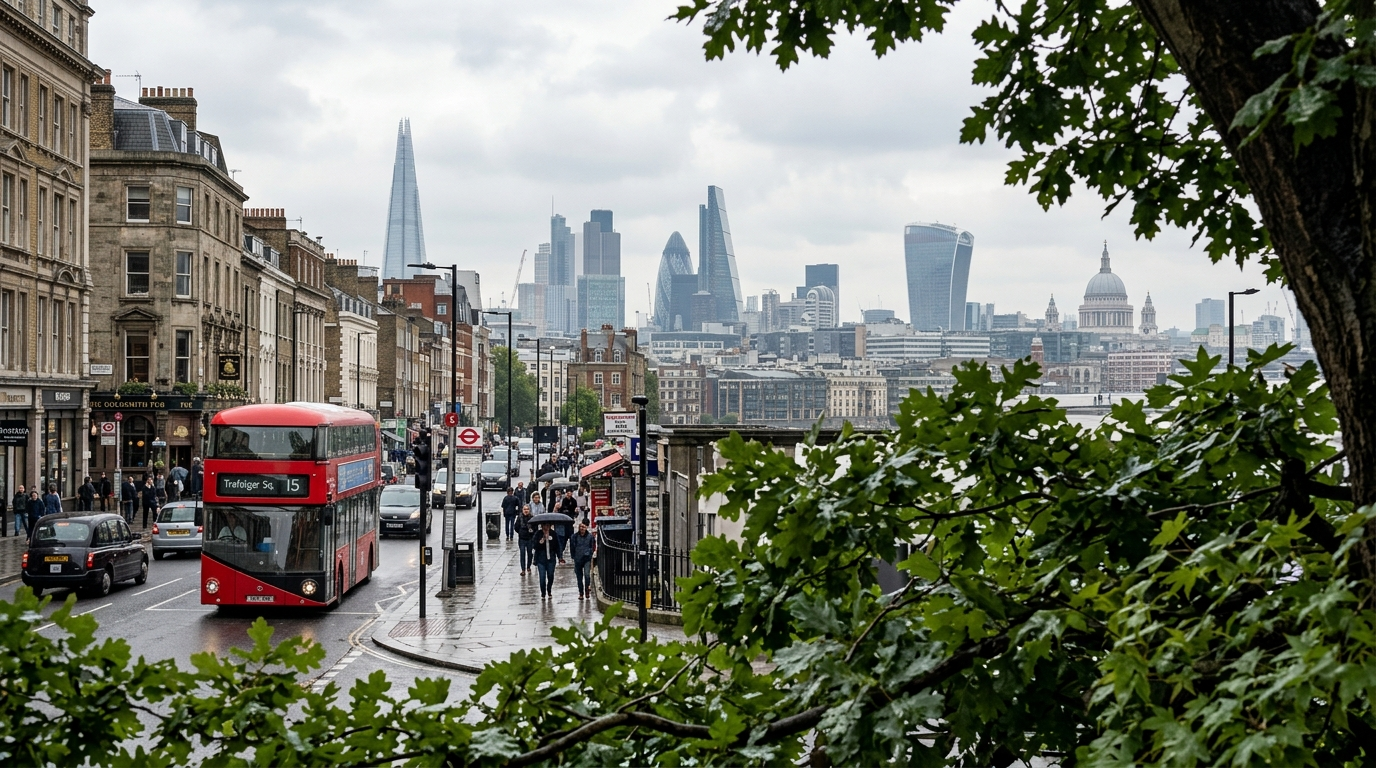
Background/environment pass (plates for parallax and set extension)
- Tools: high-resolution generator, remaster/upscale, layer exports (transparent masks), color-match.
- Recipe: create wide environment plates with multiple depth layers—foreground, mid, far. Use the same style token set across layers to ensure consistency. Export layers as PNGs or EXRs, composite in the editor with depth-based parallax and grain. If the platform supports image-to-video or URL→video features, use them to help create subtle camera moves based on a single AI image (industry roundups show these features improving, but expect trade-offs on motion coherence) (Technology.org; ArtificialAnalysis).
- QA: inspect edges at pan endpoints and test render at final frame size for banding or tiling.
These recipes assume the platform’s image features are embedded in the editor—if you need to move assets to an external retoucher, export high-res masters and track changes to maintain reproducibility.
Frequently Asked Questions
Can I use AI-generated images for paid ads and commercial videos?
Possibly—but confirm the platform’s commercial-use license and model provenance. Keep records of the model/version, generation timestamp, and any vendor terms in effect when you created the asset.
How do I maintain consistent faces or characters across multiple AI-generated shots?
Use seed values, a consistent style token set in prompts, and batch-generate core frames. Where available, use model features for "variations" and save reference stills to guide later generations.
Will in-editor AI replace the need for human retouchers?
No. Integrated upscalers and remaster tools accelerate work, but human retouching is still necessary for broadcast-level detail, brand assets, and compliance-sensitive content.
Conclusion
Action plan: start a small internal pilot project. Pick one deliverable (a 15–30s social clip or a thumbnail suite), allocate a single editor timeline for iteration, and run the four-stage workflow: prompt → generate → edit/refine → motion. Track each asset with a short audit row (prompt, model/version, seed, export date). Use the tools checklist above to evaluate platforms before committing, and budget for at least one human retouch in the pipeline for any final, high-resolution use. If you want to try the full in-editor loop immediately, experiment with the AI image generator (/create-image), pair visuals with AI voices (/ai-voices) and music (/create-music), test effects (/effects), and render a draft using the platform’s AI video generator (/create-video). Review pricing and generation limits at /pricing before scaling your pilot.